In 2026, persistent drought cycles and climbing municipal water rates are making rainwater harvesting a practical necessity, not just an eco-hobby. Across the U.S., outdoor irrigation alone accounts for nearly 9 billion gallons of water per day during peak summer months, according to EPA data. Capturing even a fraction of that with a rain barrel or cistern drastically reduces your water bill and lessens demand on overtaxed aquifers. Whether you’re maintaining a garden, feeding livestock, or prepping for emergencies, a well-designed collection system puts free water at your fingertips.
This comparison guide focuses on the four core components you’ll actually use: barrels, large cisterns, first flush diverters, and transfer pumps. We evaluated real units based on capacity, material longevity, ease of installation, and compliance with health guidelines. The CDC’s water quality guidance stresses that non-potable systems must prevent cross-connection with drinking water lines and control mosquito entry. Every option here meets those basic safety standards when installed correctly.
The numbers are compelling. A typical 1,000-square-foot roof yields about 600 gallons from a single inch of rainfall. In a region that receives 30 inches annually, that’s 18,000 gallons coursing through your downspouts. A single 55-gallon barrel can reliably capture roughly 1,300 of those gallons each year. Scale up to a 1,500-gallon cistern and you’re offsetting tens of thousands of gallons. For a family of four with a large vegetable garden, that means the water meter barely spins from May to October.
Choosing the right setup means balancing your budget, available space, and water needs. We’ll break down the best options for small-space gardeners, off-grid homesteaders, and anyone who wants a reliable backup supply. If you haven’t already tested your water source and soil, now’s the time, knowing what you’re starting with helps you size and treat your system correctly.
How Do the Top Options Compare?
| System | Best For | Capacity | Material | Price Range | Installation Difficulty |
|---|---|---|---|---|---|
| FCMP Outdoor Catalina 45-Gallon Rain Barrel | Small gardens, patios | 45 gallons | Polyethylene | Check price | Easy (no tools) |
| AquaBarrel 58-Gallon Rain Barrel | Durability, large gardens | 58 gallons | UV-resistant polyethylene | Check price | Easy |
| Norwesco 1,500-Gallon Underground Cistern | Whole-house supply, off-grid | 1,500 gallons | Polyethylene | Check price | Moderate (requires excavation) |
| EarthMinded FlexiFit Diverter Kit | First flush diversion, retrofits | N/A (fits 2"x3" or 3"x4" downspouts) | PVC and flexible hose | Check price | Very easy |
| WAYNE RUP160 Submersible Utility Pump | Water transfer, pressurized watering | Up to 1,845 GPH (gallons per hour) | Cast iron and thermoplastic | Check price | Easy (plug and drop) |
Prices are estimated for 2026 and do not include professional installation, permits, or additional plumbing. GPH ratings are at zero lift; actual output decreases with head height.
1. FCMP Outdoor Catalina 45-Gallon Rain Barrel , Best for Small Gardens and Beginners
The Catalina is a straightforward, no-nonsense rain barrel that fits beneath most standard eaves. Its 45-gallon capacity seems modest, but for a balcony tomato patch or a small flower bed, it’s plenty. The flat-back design sits flush against a wall, and the screened lid keeps debris and mosquitoes out. You’ll fill a couple of watering cans with the brass spigot in seconds.
Installation is nearly tool-free. The package includes a diverter that cuts into the downspout and feeds water directly into the barrel via a hose. Overflow is handled by an integrated port that you can direct away from the foundation. That said, 45 gallons empties quickly during a hot, dry week. If you have more than a few raised beds, consider linking a second barrel for a total of 90 gallons.
For the price, you get a durable polyethylene body that won’t rust or dent. Just remember to drain it before the first hard freeze. A single freeze can crack the barrel if it’s full. The EPA’s water efficiency guidelines encourage these small-scale systems as a simple way to cut outdoor water use by up to 40% during the growing season.
Key strengths:
- ✅ Slim, space-saving profile fits against any wall
- ✅ Includes diverter and downspout connector for easy DIY install
- ✅ Brass spigot with threaded outlet for hose attachment
- ✅ Mesh screen lid prevents mosquitoes and debris
- ✅ Under $100 makes it one of the cheapest ready-to-use barrels
- ❌ 45-gallon capacity is small for serious gardeners; needs refilling during dry spells
- ❌ No linking port on the base model, must add a link kit separately
- ❌ Plastic can become brittle if left in direct UV for years without a cover
Who it’s for: Apartment renters with a small balcony garden, new homeowners testing rainwater harvesting, or anyone with limited outdoor space who wants a simple, low-cost entry point.
2. AquaBarrel 58-Gallon Rain Barrel , Best for Heavy-Duty Home Use
Where the Catalina feels like a starter setup, the AquaBarrel 58-gallon model is built for households that take watering seriously. Its UV-stabilized polyethylene resists cracking, fading, and warping far longer than standard barrels. The extra 13 gallons over the Catalina may not sound like much, but over the course of a growing season it adds up to hundreds of additional gallons stored, especially when you’re collecting from a large roof.
A major advantage is the dual overflow and linking port system. You can chain three or four of these along a fence line with simple hose connections, creating a multi-hundred-gallon battery. The stainless steel screen on top is finer than most, filtering out pine needles and roof grit that clog spigots. Maintenance is minimal, but you’ll still want to clean the tank and check seals annually to prevent algae growth.
Price-wise, it sits in the $120, $160 range, which is higher than budget barrels, but you’re paying for longevity. The barrel comes with a high-flow spigot, but if you need to send water to a drip irrigation line more than 10 feet away, pair it with a small submersible pump. In regions with 25 inches of rainfall per year, one AquaBarrel can capture nearly 1,400 gallons annually. Considering that the average American household uses about 320 gallons per day, every gallon of free rain offsets a surprising slice of the outdoor bill.
Key strengths:
- ✅ Extra-thick UV-stabilized walls resist sun damage and cracking
- ✅ Built-in linking port supports daisy-chaining without adapters
- ✅ Finer debris screen than competitors keeps water cleaner
- ✅ Large 58-gallon volume suits bigger gardens
- ✅ Brass spigot with high flow rate for fast filling
- ❌ Higher upfront cost than basic 45-gallon alternatives
- ❌ No diverter included, must purchase separately or build your own
- ❌ Weight when full (over 480 lbs) means it must sit on a level, compacted base
Who it’s for: Homeowners with a modest to large garden who want a durable barrel that can be expanded into a multi-barrel system over time.
3. Norwesco 1,500-Gallon Polyethylene Cistern , Best for Whole-House and Off-Grid Water Supply
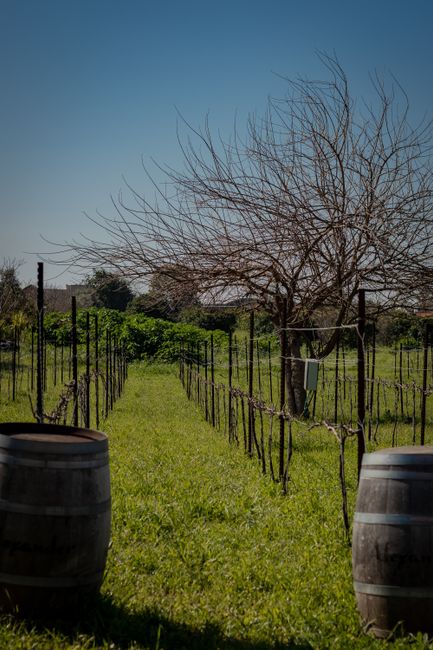
When you’re ready to move beyond barrels, a cistern is the answer. The Norwesco 1,500-gallon polyethylene tank is a workhorse for off-grid cabins, large vegetable operations, or homes that rely entirely on rainwater. Installed underground, it stays cool, blocks UV, and doesn’t take up valuable yard space. At 1,500 gallons, it captures enough water from a modest roof to handle all seasonal irrigation and even some indoor non-potable uses like toilet flushing.
Do the math: a 2,000-square-foot roof under 30 inches of annual rainfall nets over 37,000 gallons. Even after first-flush diversion and overflow losses, a 1,500-gallon tank fills several times a year. You’ll need a permit and excavation in many areas, but once buried, the cistern is nearly invisible. Pair it with a submersible pump and a whole-house filter for a pressurized supply that rivals a municipal connection.
Cost is the biggest hurdle. The tank alone runs $1,500, $2,500, and excavation can double that. However, with rising water scarcity and off-grid system incentives in some states, the long-term return on investment is strong. Keep in mind that EPA standards classify roof-collected rainwater as non-potable unless extensively treated. For drinking purposes, you’ll need a certified filtration and UV disinfection setup, plus regular water testing.
Key strengths:
- ✅ Massive 1,500-gallon capacity covers even large gardens and livestock
- ✅ Buried installation saves surface space and prevents freezing
- ✅ Polyethylene is smooth, corrosion-proof, and rated for decades
- ✅ Gravity-fed outlet eliminates need for a lift pump in many layouts
- ✅ Can integrate with automatic roof washers for minimal maintenance
- ❌ High upfront cost (tank + excavation often exceeds $4,000)
- ❌ Requires professional installation and likely a permit
- ❌ Repairs or inspection of underground cisterns are difficult and invasive
Who it’s for: Off-grid homesteaders, owners of large gardens or orchards, and anyone building a whole-house rainwater supply system with professional assistance.
4. EarthMinded FlexiFit Diverter Kit , Best First Flush and Diverter Solution
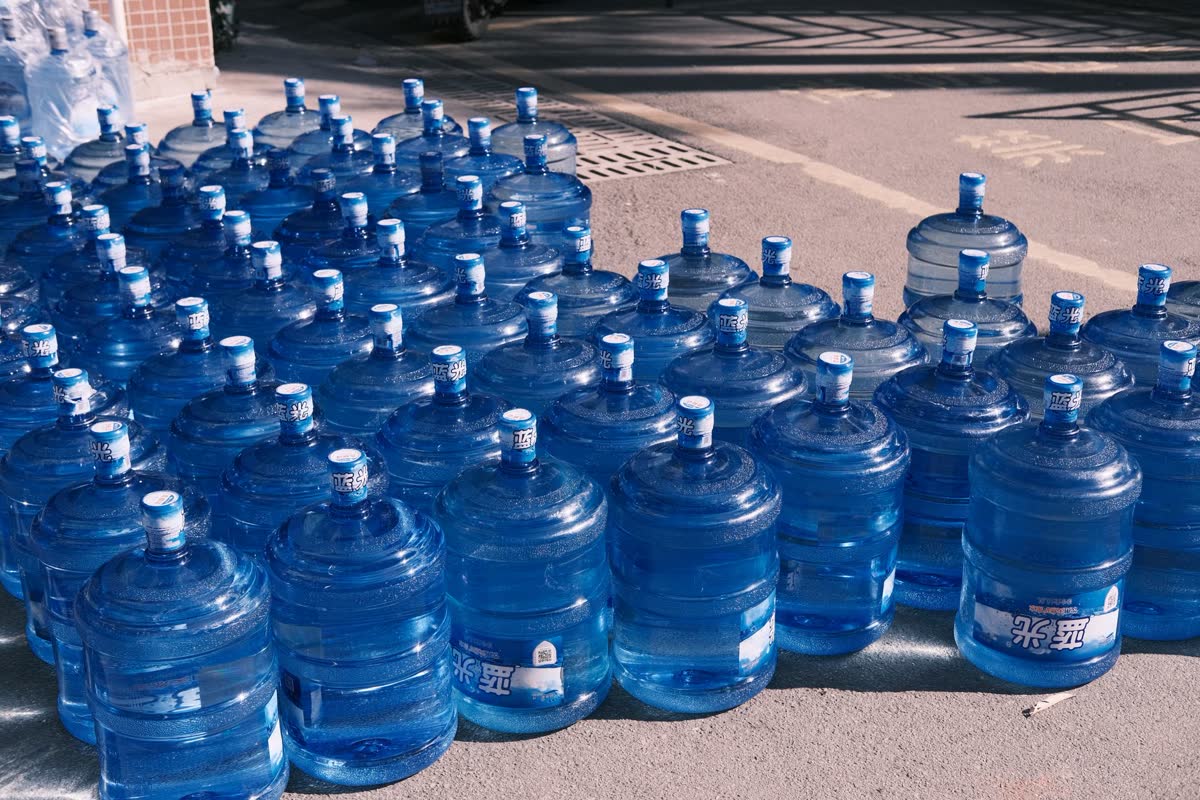
Diverter kits are the unsung heroes of rainwater quality. The EarthMinded FlexiFit replaces a section of your downspout and diverts the first, dirtiest flush of water away from your barrel. Without a diverter, leaves, bird droppings, and roof grit end up in your storage, turning it into a smelly, clog-prone swamp. This kit’s flexible hose makes alignment a breeze, and it fits both 2x3-inch and 3x4-inch rectangular downspouts.
Installation takes less than 20 minutes. You cut a notch in the downspout, attach the diverter body, connect the hose to the barrel inlet, and you’re done. When the barrel fills, the built-in overflow redirects excess water back down the downspout so you never have to worry about backup flooding the foundation. The first flush chamber is optional but strongly recommended. It captures about 0.5 to 1 gallon of contaminated runoff before sending clean water to the barrel. Clean the chamber screen once a month, and you’ll notice a dramatic reduction in sediment.
For less than $70, this diverter solves the two biggest barrel headaches: dirty water and overflow management. If you’re using multiple barrels, you can link them downstream of a single diverter, but each additional barrel may need its own overflow control. Pair this diverter with a mesh leaf filter on the gutter to minimize maintenance. Without a diverter, even the best barrel quickly becomes a breeding ground for algae and mosquitoes, traits the CDC’s healthy water program emphasizes avoiding.
Key strengths:
- ✅ Tools-free installation fits any standard rectangular downspout
- ✅ Integrated first flush chamber removes the dirtiest roof runoff
- ✅ Overflow bypass returns excess water to the downspout naturally
- ✅ Affordable at under $70 and compatible with most barrel brands
- ✅ Flexible hose accommodates slightly misaligned downspouts
- ❌ First flush chamber needs monthly cleaning or it becomes a source of standing water
- ❌ Plastic connector may eventually crack in extreme cold if water is left inside
- ❌ Does not include a leaf screen for the gutter, add separately
Who it’s for: Any rain barrel owner who wants cleaner stored water with less maintenance and a mosquito-free system right from the start.
5. WAYNE RUP160 Submersible Utility Pump , Best High-Volume Transfer Pump for Rainwater
Unless your barrel is 10 feet above your garden and you only use a watering can, you’ll eventually want a pump. The WAYNE RUP160 is a 1/6 HP submersible pump that moves up to 1,845 gallons per hour at zero lift. Drop it into a cistern or a barrel, plug it in, and it’ll pressurize a hose, run sprinklers, or lift water 20 feet up to a header tank. At 1.6 amps, it’s efficient enough to run off a small solar inverter if you’re off-grid.
For rainwater systems, the key is the pump’s cast iron and thermoplastic construction. The iron housing resists wear, and the thermoplastic impeller handles small bits of debris without jamming. Keep a fine screen at the intake anyway. The 3/4-inch garden hose adapter is standard, so you can attach it directly to a drip irrigation manifold. If you need safe indoor use, filter the water first and add a backflow preventer to meet plumbing codes.
The pump’s limit is lift height. At 20 feet of vertical head, the flow drops to roughly 480 GPH, which still fills a 55-gallon barrel in under 7 minutes. It is not designed for continuous duty, so running it all day will shorten its life. For whole-house demand, consider a jet pump. But for gardening and occasional transfer, the RUP160 is hard to beat at its price of $90, $130.
Key strengths:
- ✅ Moves up to 1,845 GPH, fills a 55-gallon barrel in about 2 minutes at zero lift
- ✅ Submersible and compact enough to drop into any barrel or cistern
- ✅ Cast iron base adds stability and resists vibration
- ✅ Works with standard garden hoses and drip irrigation connectors
- ✅ Low 1.6-amp draw can be powered by a small solar setup
- ❌ At 20 feet of lift, flow drops to ~480 GPH, not enough for high-pressure sprinklers
- ❌ Not designed for continuous duty; extended run times can overheat the motor
- ❌ Must be removed and drained before freezing weather
Who it’s for: Homeowners wanting to pressurize stored rainwater for hose-end watering, drip systems, or transferring water to a secondary tank.
Frequently Asked Questions
Is collected rainwater safe to drink?
No. Roof-collected rainwater can contain bird droppings, pesticides, and bacteria. It is safe for irrigation, laundry, and toilet flushing, but must be treated with filtration, disinfection, and testing before using as potable water. Follow EPA guidelines for non-potable uses.
How do I keep mosquitoes out of my rain barrel?
Use a fine mesh screen over the inlet and overflow. Keep the lid sealed. Adding a few drops of food-grade mosquito dunks containing Bacillus thuringiensis israelensis (Bti) will prevent larvae without harming plants.
What is a first flush diverter and do I need one?
A first flush diverter captures the initial, most-contaminated runoff from a roof before it enters the tank. It is highly recommended to improve water quality, reduce debris, and extend the life of filters and pumps.
Can I connect multiple rain barrels together?
Yes. Most barrels have a linking port that allows you to daisy-chain them in series. This increases total storage and equalizes water levels. Use flexible connectors or hard pipe with ball valves for easy isolation and cleaning.
How do I winterize my rain collection system?
Drain all barrels, cisterns, and hoses completely. Remove pumps and store them indoors. Leave valves open to prevent freeze damage. In cold climates, underground cisterns below the frost line do not need to be drained if they are full.
Do I need a pump for my rain barrel?
Not always. A gravity-fed spigot at the bottom of a barrel is sufficient for filling watering cans. A pump is needed if you want to run a hose, irrigate uphill, or supply water to a building. Choose a submersible or transfer pump based on your head height and flow requirements.
What Should You Remember?
- Rain Barrels are the simplest and most affordable entry point, with capacities from 45 to 58 gallons and prices as low as $60.
- Cisterns provide the highest storage volume; a 1,500-gallon underground model can cover nearly all outdoor water needs for a typical home.
- First Flush Diverters are essential for improving water quality by removing the first few gallons of contaminated roof runoff.
- Submersible Pumps let you pressurize water for hose attachment, drip irrigation, or whole-house connections.
- Polyethylene is the go-to material for modern tanks, it’s lightweight, rust-proof, and easy to install.
- Local Regulations vary widely. Always check local codes, HOA rules, and water rights before installing a system.
- A 1,000-square-foot roof can collect about 600 gallons of water from just one inch of rain, according to EPA water efficiency estimates.
This article is for general information only. Water purification and storage carry health and safety risks — always follow local regulations and manufacturer guidance.